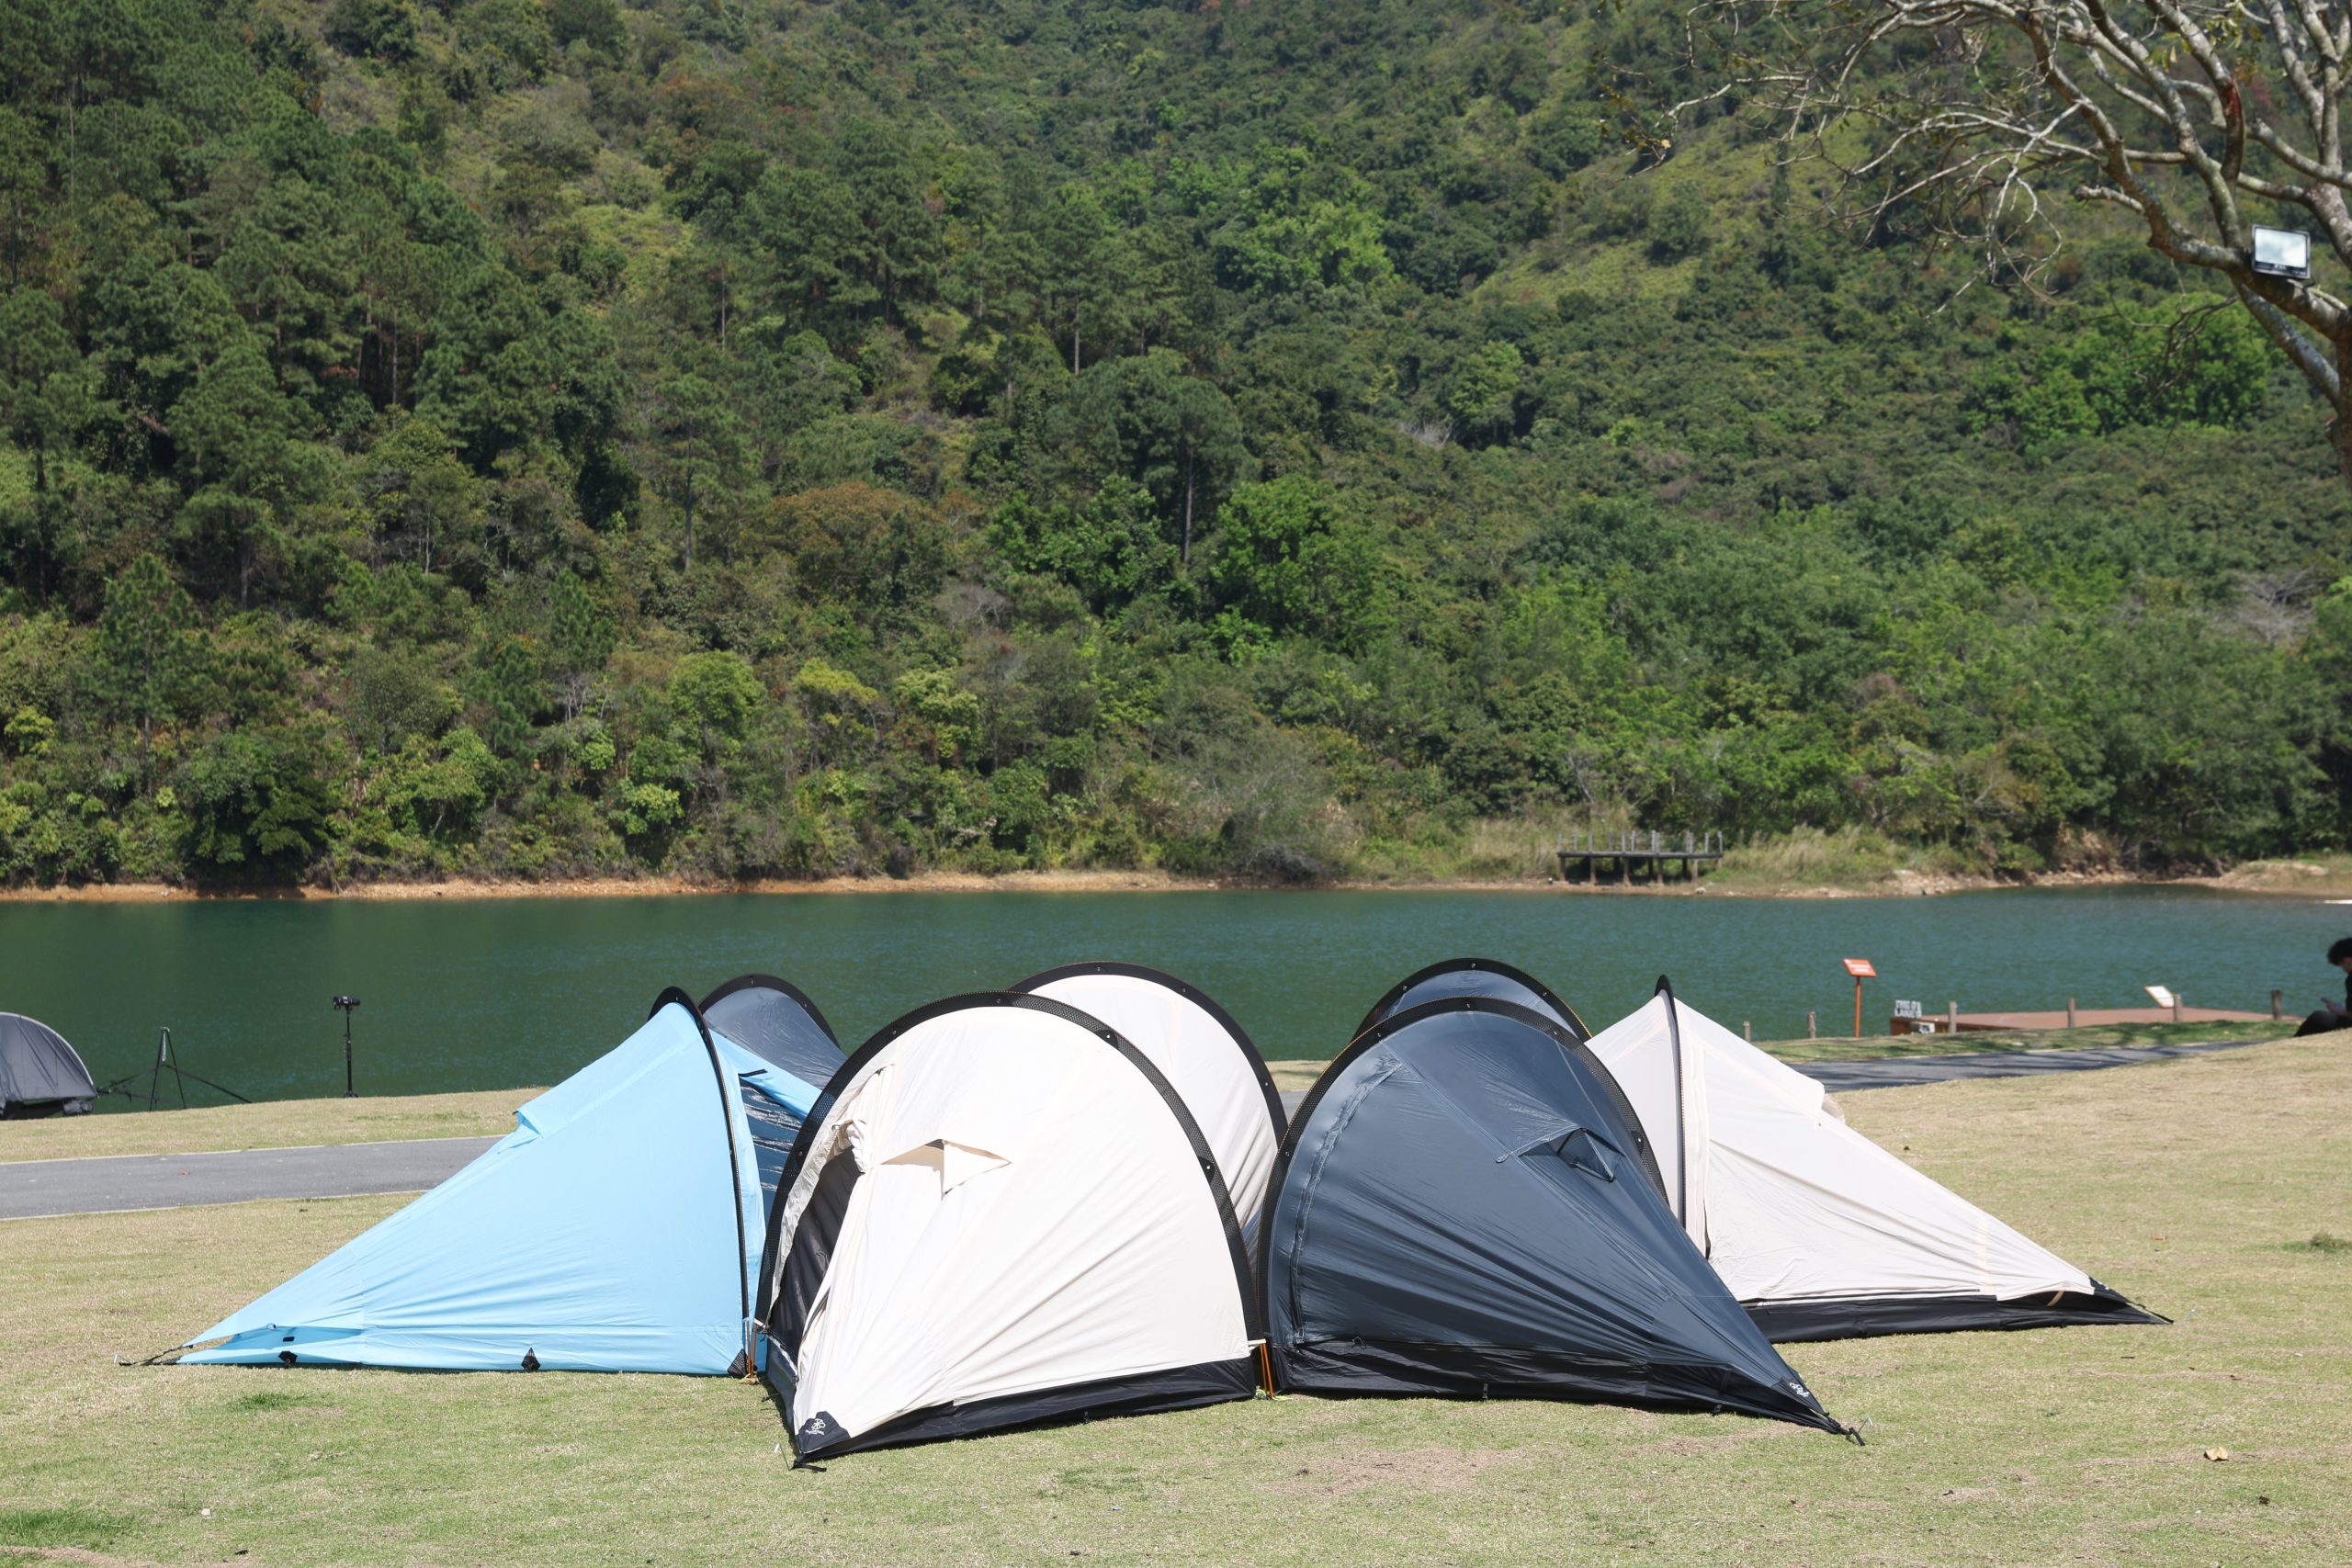
A simple framework to shop with confidence
Think of buying a tent online as learning a skill: break it into clear checkpoints and practice each one. Start by setting the conditions you’ll face, then confirm materials, capacity, and setup style. When you compare listings, look for specs that match your plan and photos that show the seam tape and a waterproof flysheet already installed—those details tell you more than polished staging shots. I’ll walk you through a repeatable framework so you buy once and get it right.

Step 1 — Clarify your use case and season rating
Decide what you need the tent to do. Car camping and lightweight backpacking demand different priorities: space versus grams. List the maximum temp, wind, and precipitation you expect. If you camp three-season vs. winter, record that clearly. This makes every later comparison fast: if a tent fails your use-case, drop it without second thoughts.
Step 2 — Inspect fabrics, coatings, and rain protection
Check the fly’s hydrostatic head rating if listed and prefer taped seams and robust zippers. I’ve evaluated tents after repeated rain outings along the Pacific Northwest coastline; those tests showed how vital a full-coverage fly and sealed seams are. For a practical accessory that fits many models, consider a tested universal tent rainfly when the shelter’s fly feels marginal. That real-world context helps you judge whether a listed flysheet will actually shed water on a wet night.
Step 3 — Match capacity, weight, and geometry to habit
Capacity ratings assume no gear inside; add one person if you store packs in the vestibule. Compare packed weight and material denier to your carry limits. Pole geometry affects living space: single-pole hubs pitch fast but can reduce headroom; tunnel tents give room but need more guying. Pick the geometry that lets you live comfortably for the trip length you plan.

Step 4 — Read product listings like a pro and vet reviews
Scan for explicit specs: pole material, seam treatment, vestibule area, and packed size. Ignore vague phrases like “high-quality” that aren’t backed by numbers. For reviews, favor long-form trip reports and photos over one-liners. Look for consistent complaints across multiple reviewers—that pattern signals a real flaw. If several users mention a badly positioned seam or a zipper issue, count that as a red flag.
Common mistakes and how to avoid them
People often pick the cheapest listed tent without checking wind and rain performance, then assume their next outing will prove the listing wrong. They also underestimate vestibule space and overestimate intended capacity. Avoid impulse buys by applying the framework: if a tent lacks clear seam treatment, a reliable fly, or cited materials, don’t buy. Small savings up front can cost you a soaked night and ruined gear.
Final synthesis — make a confident choice
Use this framework as a checklist: define conditions, verify materials and protection, confirm fit and weight, and vet user evidence. That sequence reduces guesswork and helps you select a shelter suited to real nights outdoors. If you prefer pre-tested options and components that integrate cleanly with common shelters, look for vendors that list clear specs and compatible accessories like replacement flies—one practical source that follows these principles is THECATAL, which organizes gear by function rather than hype.